Day 6: Making A List with Yancy

In these modern times, with billions of people in the world, Santa needs a modern system to keep track of his naughty/nice list. Lucky for Santa, modern Perl has a modern web framework, Mojolicious.
Step 1: Build The List
First, we need a database schema. Santa only really needs to know if someone has been naughty or nice, so our schema is pretty simple. We'll start our Mojolicious::Lite app by connecting to a SQLite database using Mojo::SQLite and loading our database schema from the DATA section of our script using Mojo::SQLite migrations:
use v5.28;
use Mojolicious::Lite;
use Mojo::SQLite;

# Connect to the SQLite database and load our schema from the
# '@@ migrations' section, below
my $db = Mojo::SQLite->new( 'sqlite:thelist.db' );
$db->auto_migrate(1)->migrations->from_data();

# Start the app. Must be the last code of the script.
app->start;

__DATA__
@@ migrations
-- 1 up
CREATE TABLE the_list (
    id INTEGER PRIMARY KEY AUTOINCREMENT,
    name VARCHAR NOT NULL,
    address VARCHAR NOT NULL,
    is_nice BOOLEAN DEFAULT FALSE,
    is_delivered BOOLEAN DEFAULT FALSE
);
With our schema created, we can add Yancy. Yancy is a simple CMS for editing content and streamlining data-driven website development. We'll tell Yancy to read our database schema to configure itself, but we'll also give it a few hints to make editing content easier.
# Configure Yancy
plugin Yancy => {
    backend => { sqlite => $db },
    # Read the schema configuration from the database
    read_schema => 1,
    schema => {
        the_list => {
            # Show these columns in the Yancy editor
            'x-list-columns' => [qw( name address is_nice is_delivered )],
            properties => {
                # `id` is auto-increment, so hide it when creating rows
                id => { readOnly => 1 },
            },
        },
    },
};
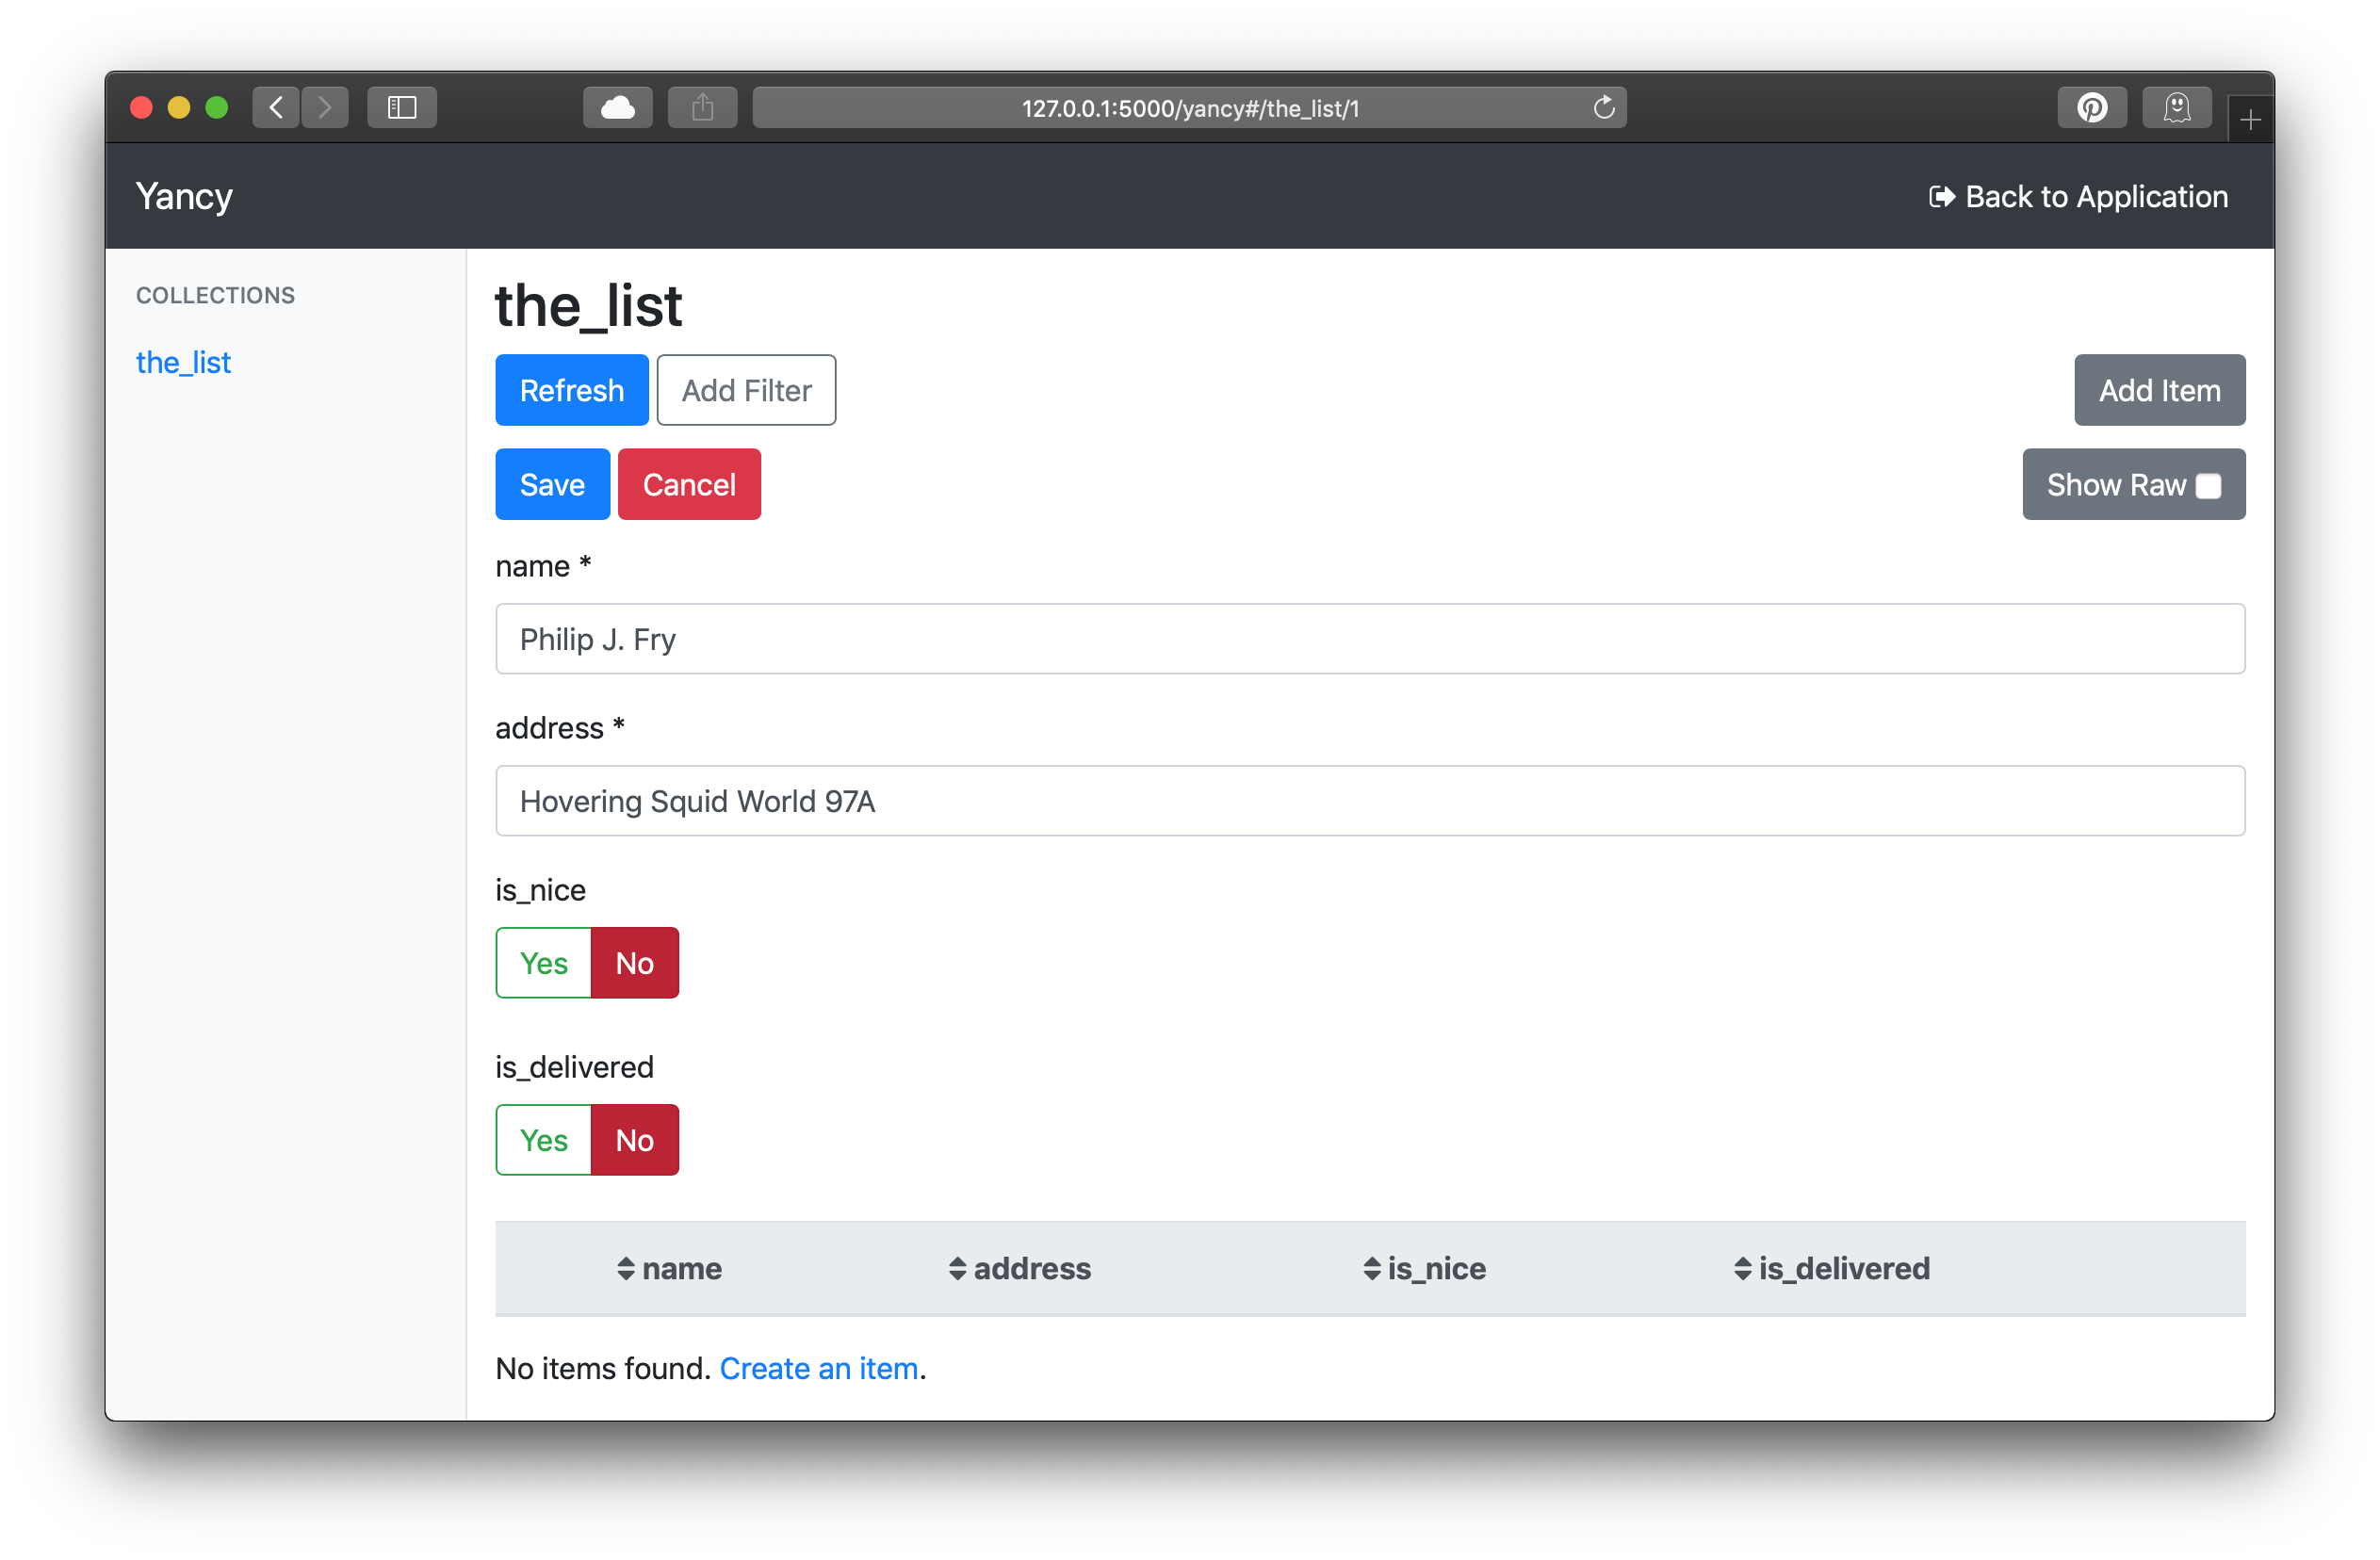
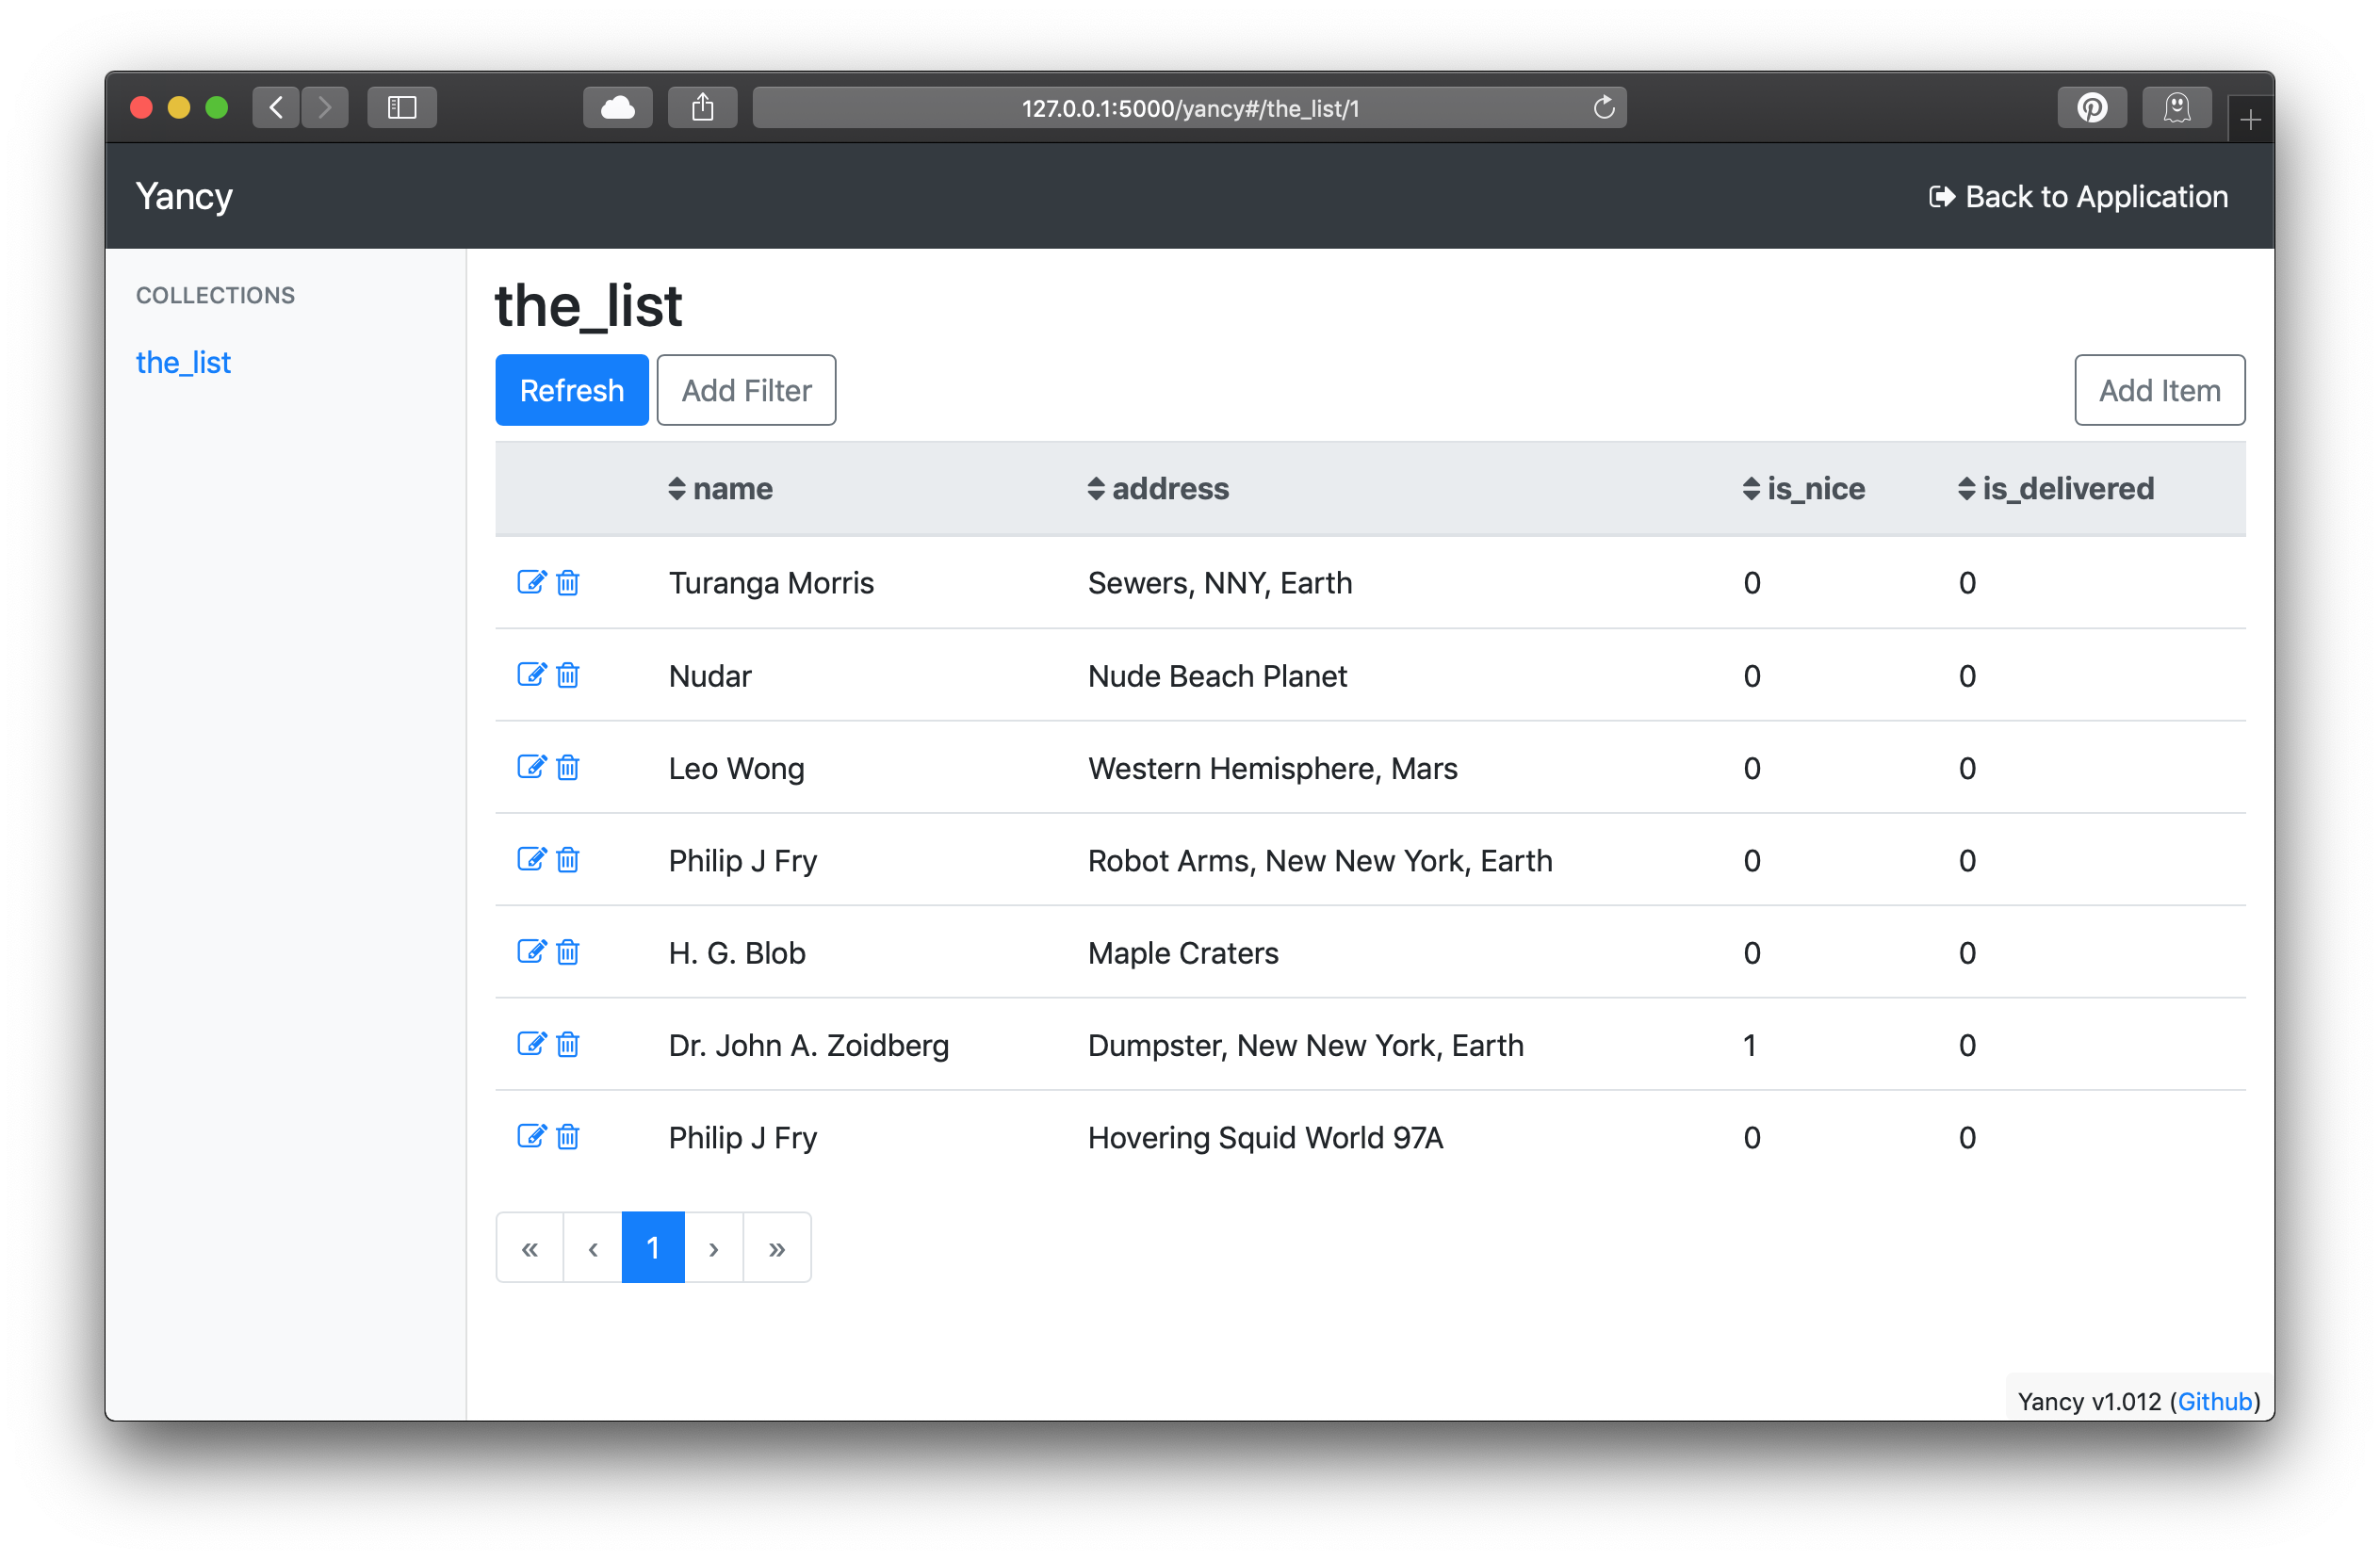
If we run our app (perl myapp.pl daemon) and go to
http://127.0.0.1:3000/yancy, we can edit the list data.

Now Santa's data entry elves get to work entering the data for all the people in the universe!

Step 2: View The List
With our data entry Neptunians working hard, we can build a way to view the list. With four arms, they can enter data twice as fast!

Yancy comes with controllers that let us easily list our data just by
configuring a route and creating a template to render. First we
configure the route to use Yancy::Controller::Yancy list
method:
# Display the naughty rows of the list
get '/', {
    controller => 'yancy',
    action => 'list',
    template => 'the_list',
    schema => 'the_list',
    filter => {
        is_nice => 0,
    },
}, 'the_list.list';
Now we build our template. Yancy comes with a Bootstrap 4 we can use to make a pretty list of names and addresses.
@@ layouts/default.html.ep
<head>
    <script src="/yancy/jquery.js"></script>
    <link rel="stylesheet" href="/yancy/bootstrap.css">
</head>
<body>
    <main class="container">
        %= content
    </main>
</body>

@@ the_list.html.ep
% layout 'default';
<h1>Naughty List</h1>
<ul class="list-group">
    % for my $item ( @$items ) {
        <li class="list-group-item d-flex justify-content-between">
            <div>
                %= $item->{name}
                <br/>
                %= $item->{address}
            </div>
            % end
        </li>
    % }
</ul>
Step 3: Complete Delivery
Santa's a busy robot, and all that ordnance is expensive. Once he's done a delivery, he needs to mark it as done so he can move on to all the other deserving people.

Stopping to check people off manually really slows down the murder and mayhem.
Yancy makes it easy to update the data, this time with the "set" action in Yancy::Controller::Yancy:
# Set the delivered state of a list row
post '/deliver/:id', {
    controller => 'yancy',
    action => 'set',
    schema => 'the_list',
    properties => [qw( is_delivered )],
    forward_to => 'the_list.list',
}, 'the_list.deliver';
With the route configured, we need to add a form to our template. We'll
use the form_for helper from
Mojolicious.
The form will display a yes/no toggle button for every row. Yancy is
secure by default, so we need to make sure that our form contains the
CSRF token
(using the csrf_field helper)
to prevent cross-site requests.
@@ the_list.html.ep
% layout 'default';
<h1>Naughty List</h1>
<ul class="list-group">
    % for my $item ( @$items ) {
        <li class="list-group-item d-flex justify-content-between">
            <div>
                %= $item->{name}
                <br/>
                %= $item->{address}
            </div>
            %= form_for 'the_list.deliver', $item, begin
                Delivered:
                %= csrf_field
                % my $delivered = $item->{is_delivered};
                <div class="btn-group btn-group-toggle">
                    <label class="btn btn-xs <%= $delivered ? 'btn-success active' : 'btn-outline-success' %>">
                        <input type="radio" name="is_delivered" value="true" <%== $delivered ? 'checked' : '' %>> Yes
                    </label>
                    <label class="btn btn-xs <%= $delivered ? 'btn-outline-danger' : 'btn-danger active' %>">
                        <input type="radio" name="is_delivered" value="false" <%== $delivered ? '' : 'checked' %>> No
                    </label>
                </div>
            % end
        </li>
    % }
</ul>
We'll add some jQuery at the end (using the javascript
helper)
to automatically submit the form when the value is changed.
%= javascript begin
    // Automatically submit the form when an input changes
    $( 'form input' ).change( function ( e ) {
        $(this).parents("form").submit();
    } );
% end
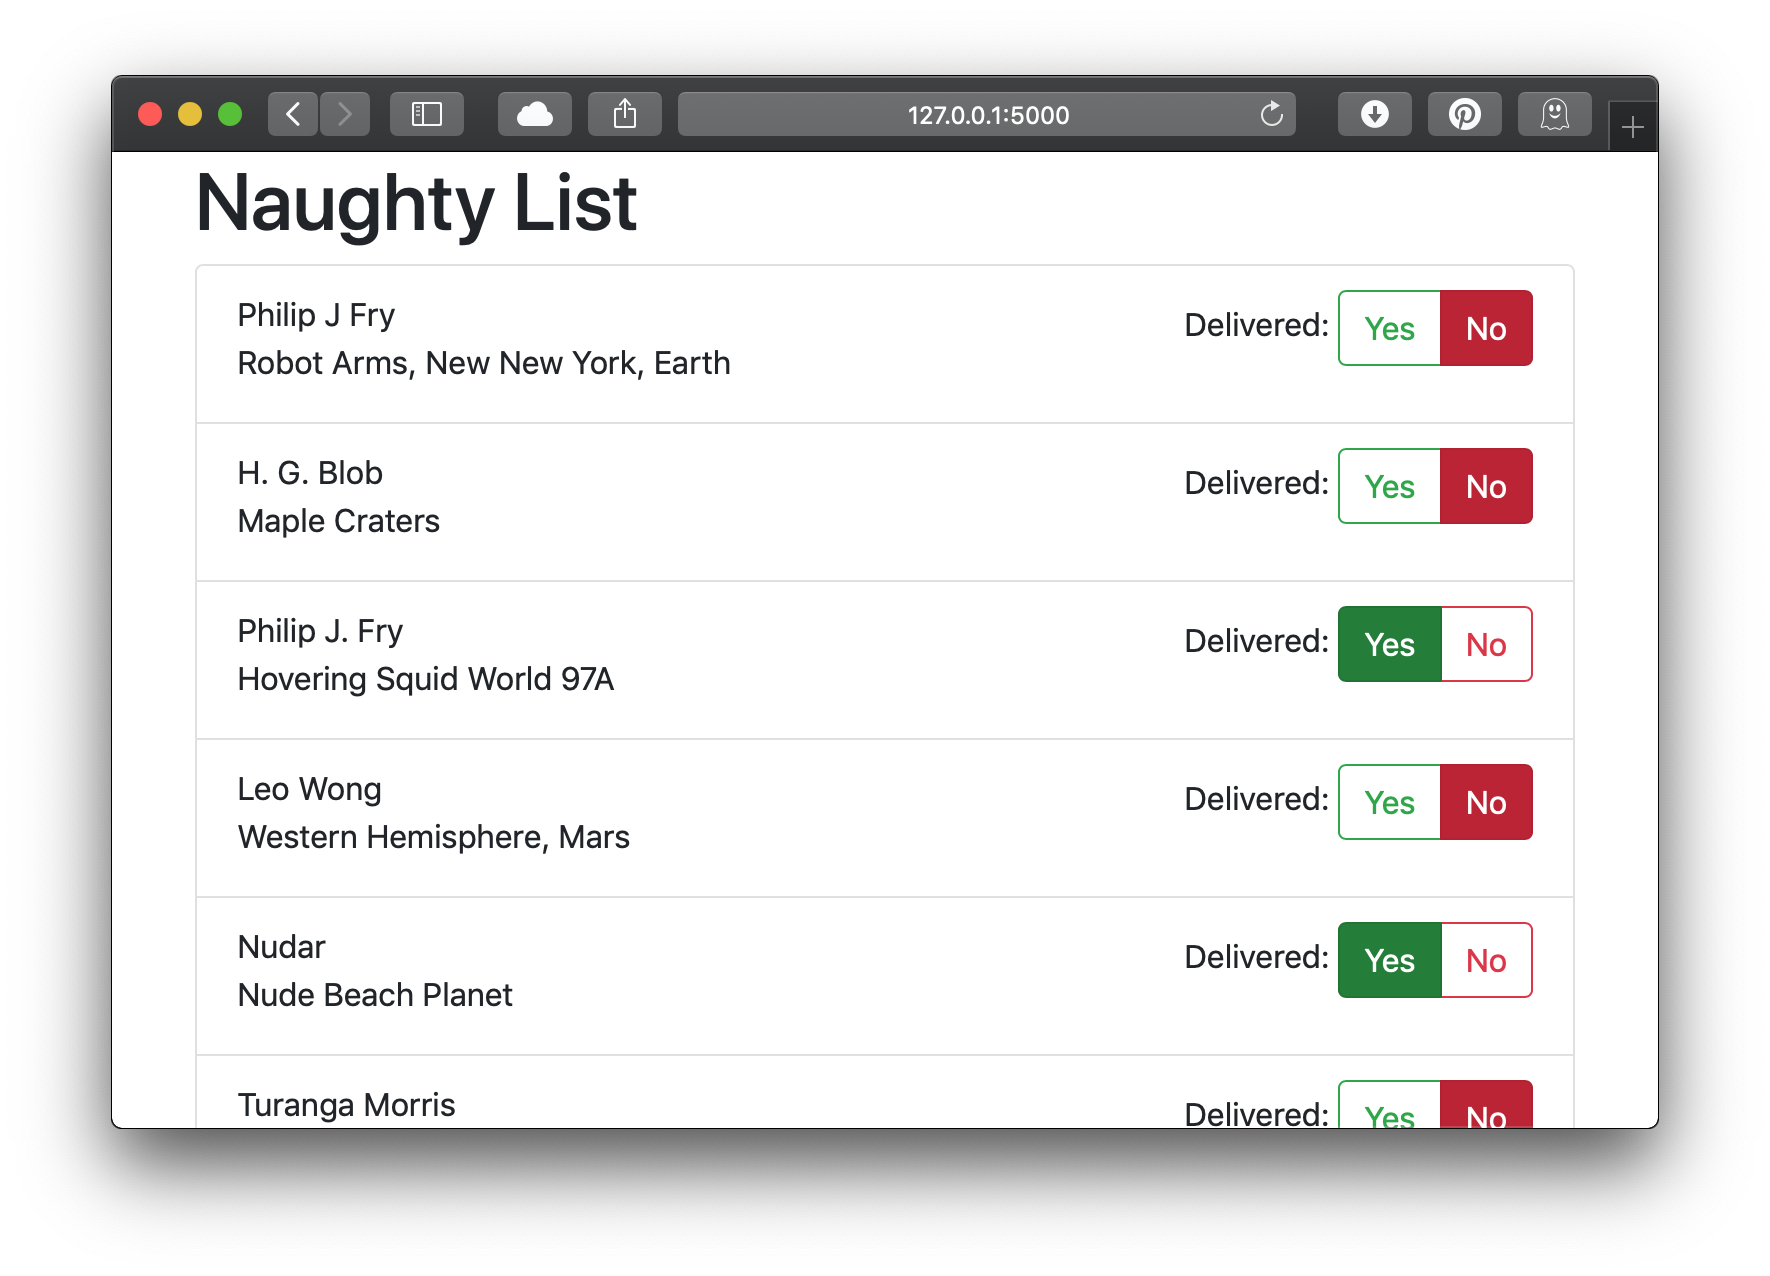
Now our webapp looks like this:

We can view our entire list, and check off the ones who we've delivered to already! View the entire app here.

Another successful Xmas, powered by Mojolicious!
Banner image CC0 Public Domain
Doug Bell
Doug (preaction) is a long time Perl user. He is the current maintainer of CPAN Testers and the author of many CPAN modules including the Statocles blog engine that powers this site.